
반응형
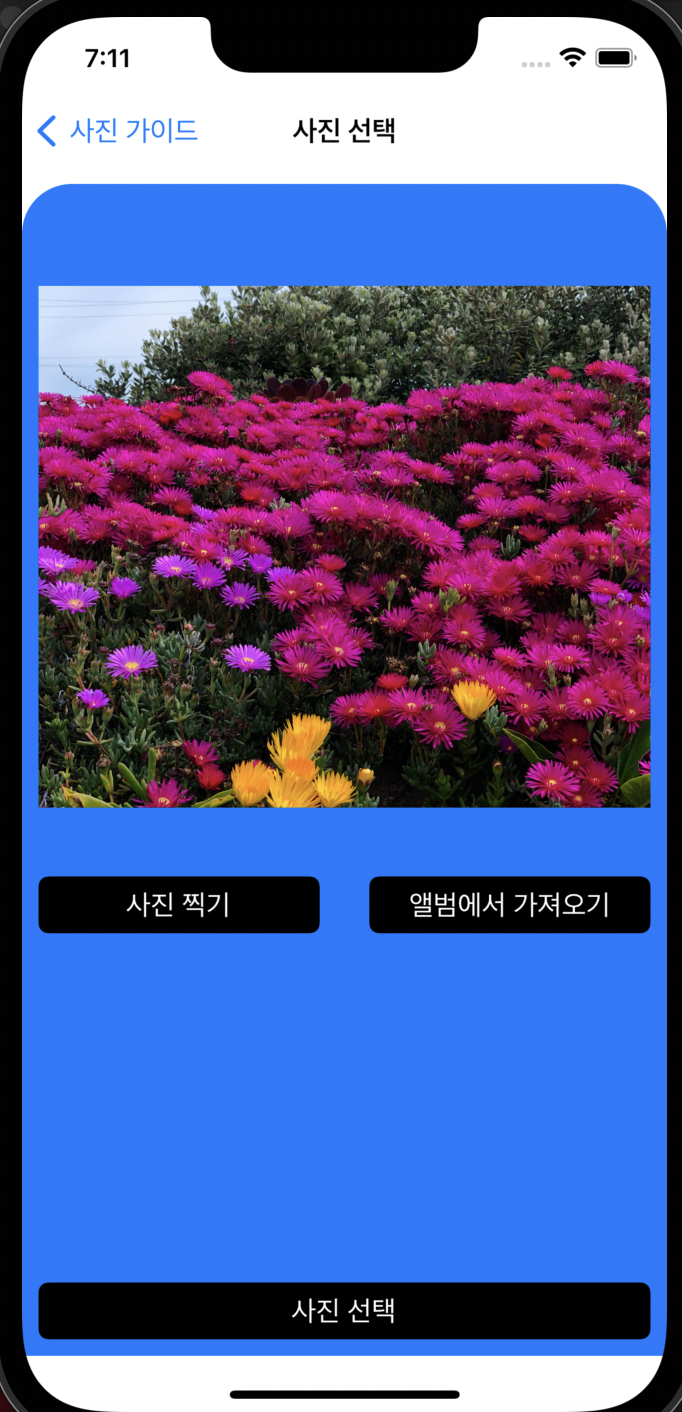
Flooming 프로젝트를 진행하면서 사용자가 카메라를 사용하여 이미지를 찍거나, 라이브러리에서 이미지를 가져왔을 때 사진 크기를 조절할 수 있는 기능을 추가하고자 했습니다.
저는 이러한 기능을 외부 라이브러리인 Mantis를 이용하여 추가했습니다.
우선 Mantis 라이브러리를 사용하기 위해서 Mantis 라이브러리를 Cocoapods를 이용해 설치합니다.
설치가 완료되면 해당 기능이 존재하는 ViewController에 Mantis를 import해줍니다.
저는 해당 기능을 ChoiceViewController에서 구현하여 다음과 같이 코드를 작성했습니다.
import UIKit
import Photos
import Mantis
class ChoicePhotoViewController: UIViewController {
@IBOutlet weak var choicePhotoView: UIView!
@IBOutlet weak var choicePhoto: UIImageView!
let imagePickerController = UIImagePickerController()
override func viewDidLoad() {
super.viewDidLoad()
choicePhotoView.clipsToBounds = true
choicePhotoView.layer.cornerRadius = 30
choicePhotoView.layer.maskedCorners = CACornerMask(arrayLiteral: .layerMinXMinYCorner, .layerMaxXMinYCorner)
imagePickerController.delegate = self
}
@IBAction func cameraButton(_ sender: UIButton) {
// 5-1) 권한 관련 작업 후 콜백 함수 실행(카메라)
authDeviceCamera(self) {
self.imagePickerController.sourceType = .camera
self.present(self.imagePickerController, animated: true, completion: nil)
}
}
@IBAction func albumButton(_ sender: UIButton) {
// 5-2) 권한 관련 작업 후 콜백 함수 실행(사진 라이브러리)
authPhotoLibrary(self) {
// .photoLibrary - Deprecated: Use PHPickerViewController instead. (iOS 14 버전 이상 지원)
self.imagePickerController.sourceType = .photoLibrary
self.present(self.imagePickerController, animated: true, completion: nil)
}
}
}
extension ChoicePhotoViewController: UIImagePickerControllerDelegate, UINavigationControllerDelegate {
func imagePickerController(_ picker: UIImagePickerController, didFinishPickingMediaWithInfo info: [UIImagePickerController.InfoKey : Any]) {
if let image = info[.originalImage] as? UIImage {
dismiss(animated: true) {
self.openCropVC(image: image)
}
}
dismiss(animated: true, completion: nil)
}
}
extension ChoicePhotoViewController: CropViewControllerDelegate {
func cropViewControllerDidCrop(_ cropViewController: CropViewController, cropped: UIImage, transformation: Transformation, cropInfo: CropInfo) {
// 이미지 크롭 후 할 작업 추가
choicePhoto.image = cropped
cropViewController.dismiss(animated: true, completion: nil)
}
func cropViewControllerDidCancel(_ cropViewController: CropViewController, original: UIImage) {
cropViewController.dismiss(animated: true, completion: nil)
}
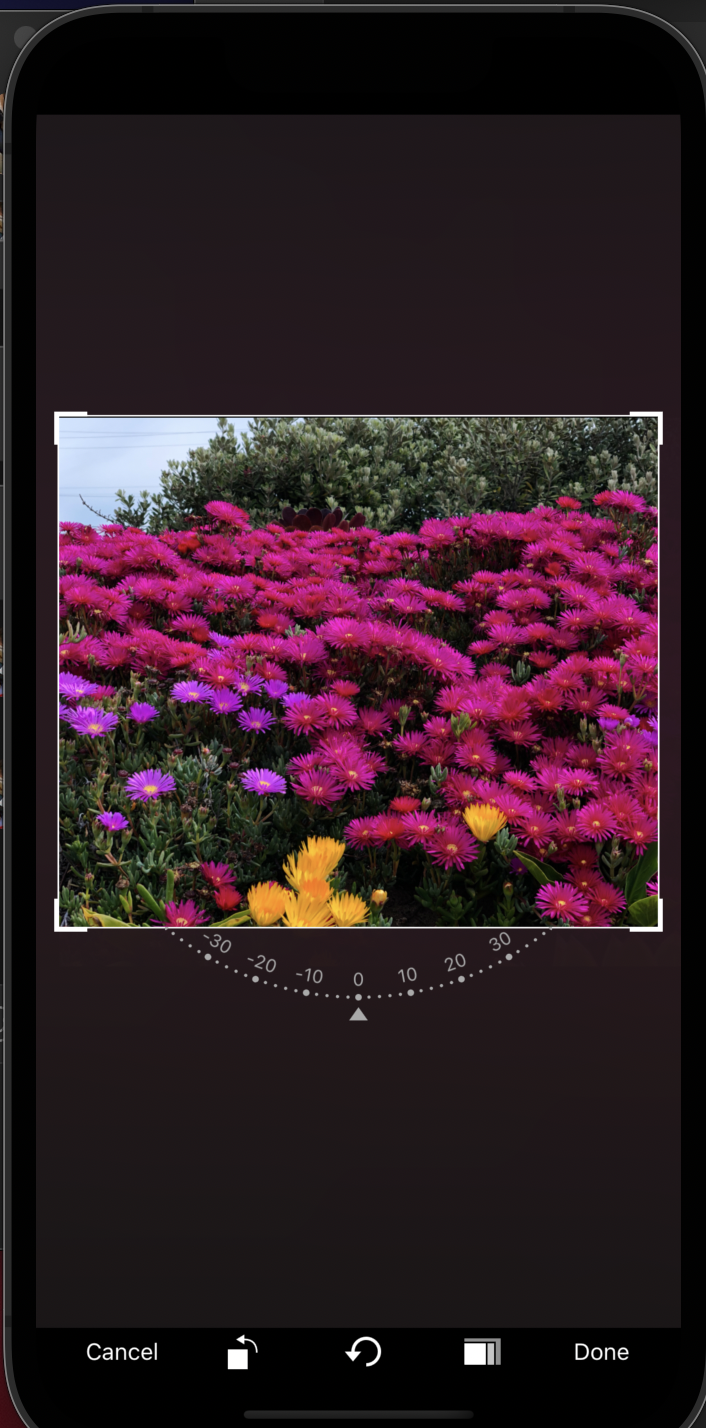
private func openCropVC(image: UIImage) {
let cropViewController = Mantis.cropViewController(image: image)
cropViewController.delegate = self
cropViewController.modalPresentationStyle = .fullScreen
self.present(cropViewController, animated: true)
}
}
완료된 화면은 다음과 같습니다.
반응형
'iOS 개발' 카테고리의 다른 글
| iOS개발 - 화면 간 이미지 전달하는 방법 (0) | 2022.07.17 |
|---|---|
| iOS개발 - HTTP Method란? (0) | 2022.07.16 |
| iOS개발 - Alomfire 사용법 (0) | 2022.07.16 |
| iOS개발 - tableView 구성 시 발생하는 오류들 (0) | 2022.07.15 |
| iOS개발 - Alamofire를 이용한 서버 통신 (0) | 2022.07.07 |